On this page
Before you start
Every product that goes live follows the same road, and the steps below are that road in order. Skipping one is what usually stalls a first listing: a product without a marketplace tab cannot be validated, and a product that is not validated cannot be listed.
You need a project to work in and the login details of the channels you want to sell on.
Steps
Connect the marketplace you sell on. See Connect your bol account, Connect your Amazon account or Connect a Mirakl marketplace. How many connections you need differs per marketplace, so follow the article for yours.
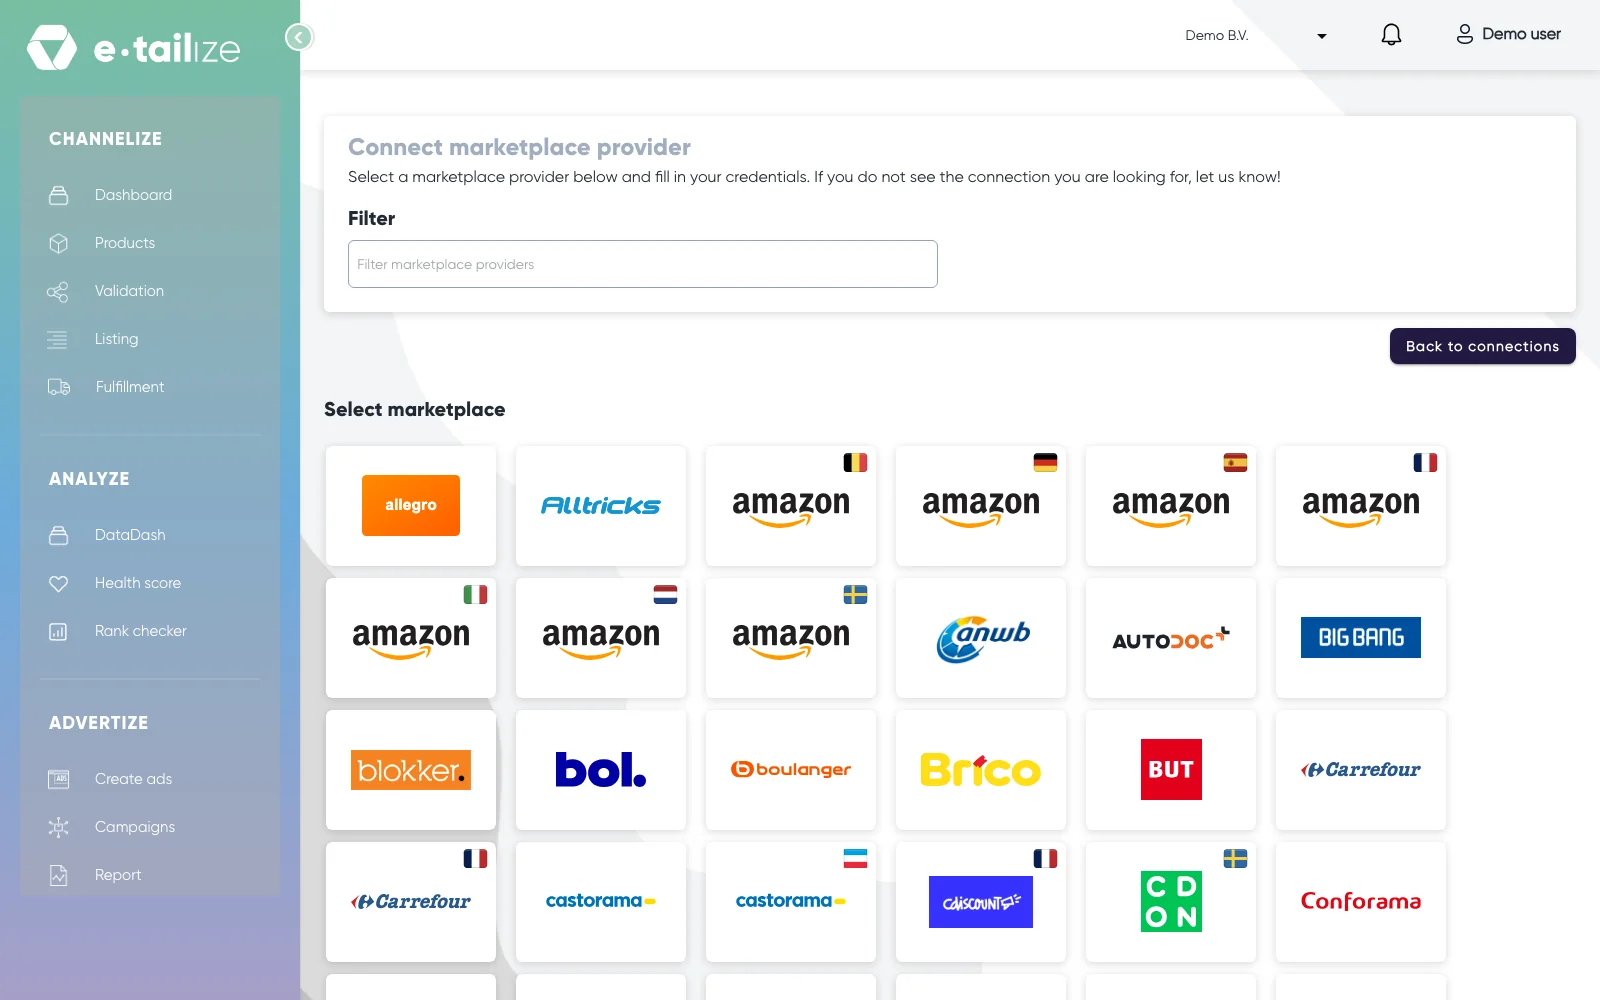
The page "Connect marketplace provider", with the "Filter" box above the logos of the marketplaces you can connect Connect the system your products live in today, if you have one: Shopify, WooCommerce or Lightspeed. Your warehouse comes in the same way, see Connect a warehouse.
Import your products. Your webshop connection pulls them in and keeps them up to date, a CSV file brings them in one batch, and a bol export file is the shortcut for sellers who are already live on bol.
Set up stock and orders under "Fulfillment", on "Stock & order configuration". That is where you say which system feeds stock to which channel, where incoming orders go, and how track and trace flows back.
Create the marketplace tab for your products. The tab holds the fields that channel asks for, on top of your own product data, and Link Main Tab fields to your PIM tab keeps those fields following your catalog instead of being typed twice.
Validate your products against the rules of that marketplace, and fix what it flags.
List the products that passed: content first, offers second. Get a product live covers steps 6 and 7 screen by screen.
What happens next
Orders from your new channel come into e-tailize under "Fulfillment" and then "Orders", and follow the forwarding you set up in step 4. Stock keeps moving on its own between the system you named as your source and every channel you switched on.
Adding a second marketplace later repeats steps 1, 4, 5, 6 and 7. Your products and your imports stay as they are, but the new connection needs its own switches under "Fulfillment", on "Stock & order configuration", before stock, orders and track and trace flow for that channel.
FAQ
Do I have to connect a webshop?
No. A webshop connection is one way to get products in and to keep stock in step, but a CSV import or a bol export file gets you a catalog just as well.
Can I list before validating?
No, and that is on purpose. Validation is the check that your data matches the rules of the marketplace, so listing without it would send products you know will be refused.
Was this useful?